
Learn how to design a Funeral Order of Service Booklet in Adobe Photoshop with our expert, easy-to-follow video tutorial…
This guide has been designed to ease a small part of the stress caused by arranging a funeral, as it is a difficult time for you, your family and friends. Making your own order of service booklet let’s you express a personal tribute to the loved one you have lost. If you need any help with planning and designing printed material, you can visit www.solopress.com or call us on 01702 460047.
How To Design A Funeral Order of Service Booklet
To start, head to the Solopress website to download the free Photoshop A4 leaflet template guide as a base for your Order of Service Booklet.
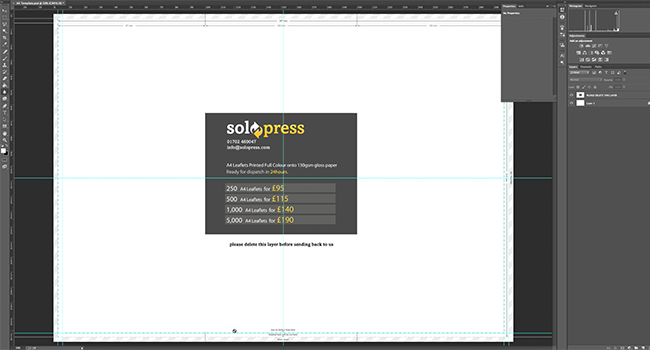
Open the Photoshop file, we have created a guide layer that will help you design the Order of Service Booklet – this includes the bleed area, trim and safe area.
Bleed Area – Anything here will be trimmed off, but remember to extend any colouring or images into this bleed area to avoid white lines appearing during the print finishing stages.
Trim – Your job will be cut on the solid black line, any images or text placed in this area may be trimmed off incorrectly.
Safe Area – Keep all your information insides the white area. Remember to use high-resolution images (300dpi) for the best results.
Create a new guide by clicking and dragging on the vertical and horizontal Ruler (if your Ruler does not appear in Photoshop press Command + R).
Create 8 new guides on the safe area lines. In this video I have created 2 lines that run through the centre vertically and horizontally, the size of this template is a bit bigger than A4 (303x216mm), you can set the center guides to the exact measurement by clicking View – New Guide then entering 108mm for vertical and 151mm for horizontal.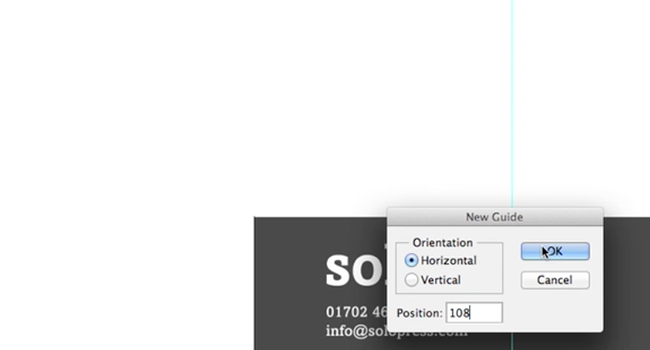
In this video, I’m going to create a simple and uncomplicated Order of Service booklet; photographs featured in this design are from stock sources and are used for illustrative purposes.
To make a solid colour background click Layers-New Fill Layer-Solid Colour.
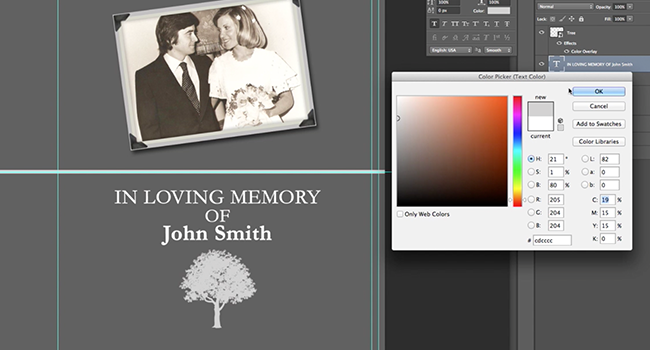
I am going to start on my front cover which will be on the right-hand side of the page. Traditionally an image is used on the front cover from a pinnacle moment of the person’s life, for this design I’ve used a mock wedding photo. I add this by dragging it in directly from my Finder window (Explorer on MS Windows), I adjust using the handles, you can adjust the images size, rotation and perspective using the Free Transform tool after you have placed it.
Using the Shapes Tool (found in the Tool Bar) I make a rectangular line to use as a separator, after placing I use the swatch panel at the top to select the colour. So the contrast is gentler, I use a light grey instead of a brilliant white for the shapes and text.
I go on to start adding information using the text tool, you can edit sizes, line spacing and just about everything else word by word or line by line by highlighting a selection and using the features in the Character Panel.
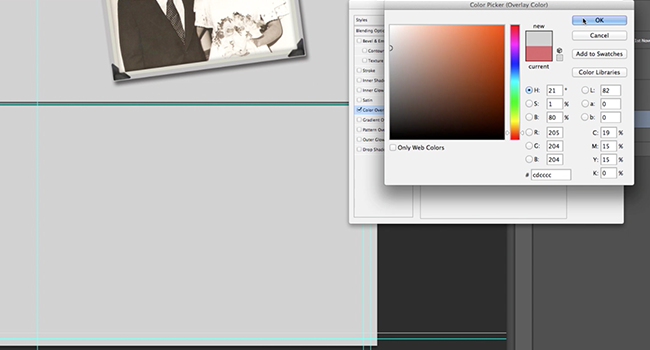
After my text is added, I add a tree silhouette. Trees are good iconography as they symbolise life rather than death (white lilies for example). I colour the silhouette in my same light grey colour by right clicking on the layer and selecting Blending Options.
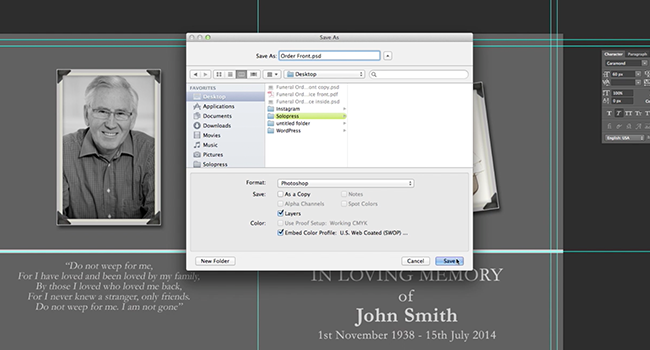
After the front is complete, I am going to start on the back page. I add another photograph from Finder, this time a more “recent” picture. Underneath I have also added a traditional funeral poem.
Once you’ve completed the outside design for your booklet, save the project using Save As (as a Photoshop file). To make it easier to start making the inside save the outside design again using Save As under a different name. Now you can use the same design elements and delete the things you do not need for the inside and not have to worry about messing up the outside.
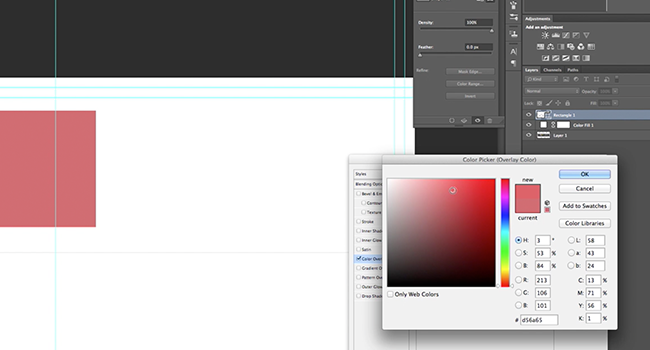
I use an inverse colour scheme for the inside of my booklet, so the background is light grey and the text and shapes are dark grey. To change the colours, just use the Colour Overlay tool in Blending Options and use the pipet to copy the exact matching shades.
I need two separating lines for the inside, so I right click on my existing line’s layer and select Duplicate.

I add text using the text tool and to present it better I use the line spacing options in the Character Panel.
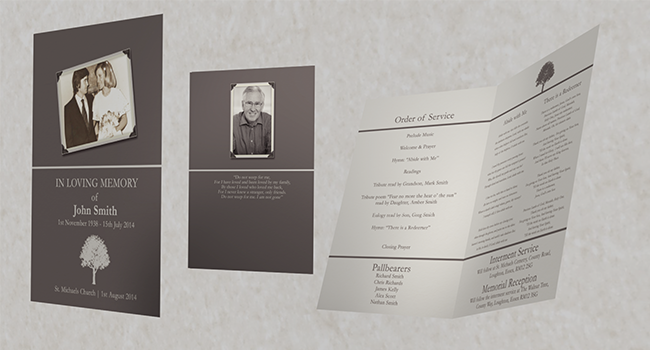
In the Order of Service, I add all of the schedule through the day including the different parts of the ceremony and the address information for the other parts of the service.
On the right hand side I have added the hymns chosen for the service with the lyrics.
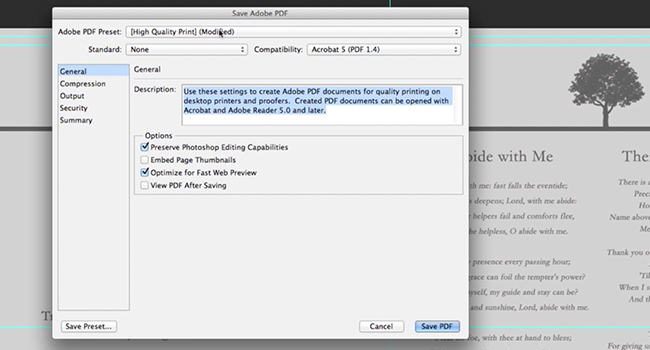
When the design is complete, remember to delete the template layer on both of the project files, then save them as a PDF file ready for print. For the next steps visit www.solopress.com or call us on 01702 460047.
If you have any comments or questions regarding designing a Funeral Order of Service or any other printed materials for a funeral, please use the comments section below and we’ll do our very best to answer your queries.
Thanks for watching our video tutorial.


Hi guys, unfortunately I need to create an order of service and would like to use your template as described above, but i cannot download the A4 psd file.
Can you help? I need this asap 🙁
Hi Laura,
Apologies that the link did not work, here is a direct download link for our A4 sized folded templates: https://www.solopress.com/downloads/6852
All the best,
Matt
Amazing and friendly company
Well I was in a dither cos i couldnt find anyone who could print understand what i needed .It was my Auntys funeral next day..
I was in a blind panic. That my idea of the order of service would not be done.. I met Sam and he went through paper etc and then he brought in Matt one of the best designers.He immediately understood what i was say and he said it wouldn’t be a problem..he would send proof over within a couple of hours which he did ..THEY WERE AMAZING ..I said yes and paid straight away … and they were printed up… I have told everyone about them even the funeral director has kept their number ..
They are a friendly company, you’re welcome through the doors if you go in and see them. If i could give them more stars I would …
Everyone who has seen the order of the services are blown away with the colour and print …etc… don’t think about using this company just call them or order they are the best!!!!!!!!!!!!!!!!!! I wouldn’t say it if i didn’t mean it well done boys and girls @solopress ………Especially Matt you’re amazing THANK YOU
Thanks for your feedback Sue,
I’m so happy to hear that you were happy with your order of services! I’ll pass your feedback onto Sam and Matt 🙂
Thanks Again!