Learn how to make text look handwritten with this handy Adobe Illustrator tutorial.
It takes a little time and some careful crafting to get right, but the end result pays off!
Video Tutorial
Saddle Up And Let’s Go!
Launch Adobe Illustrator and create a new document (File – New…) and make it 297mm x 210mm (or landscape A4).
Draw
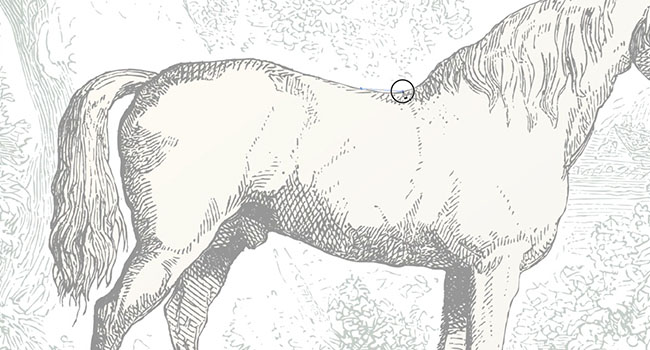
Grab a picture of a object or animal. In this tutorial we are using a horse. Drag your image directly into Illustrator and adjust the size. To make outlining easier, change the opacity of the object in the Transparency Pallet.
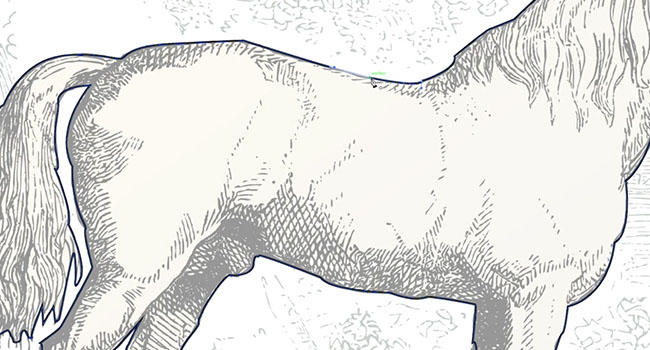
Begin tracing the object using the Pen Tool, making sure the fill colour is switched off (the white box with the red strike) and the stroke colour is visible.
Click on the starting point of the outline and continue this around the object. To curve the lines you create, simply hold down the mouse button as you click, then change the position by using the mouse. Sometimes the curves get stuck, so if you create a new point and the curve isn’t going the way you need, undo the point then switch back to the Selection Tool. After this go back to the Pen Tool, click the last point you made, then continue the trace.
When you have finished your tracing, make sure the last point is joined by a line with the first point. You’ll see a circle appear above your cursor when you are about to join the points. You can now choose a fill colour for the traced object and delete the original object from underneath.
Write
Your object is now ready for text. Start typing using the Text Tool. I’ve picked a handwritten font to give a better effect when altered. Type out the words or phrase that you want, then copy and paste each word so it has its own layer.
Drag each word into the shape. Resize and rotate the words to fit within the space but not against the edge as we will be stretching the letters soon.
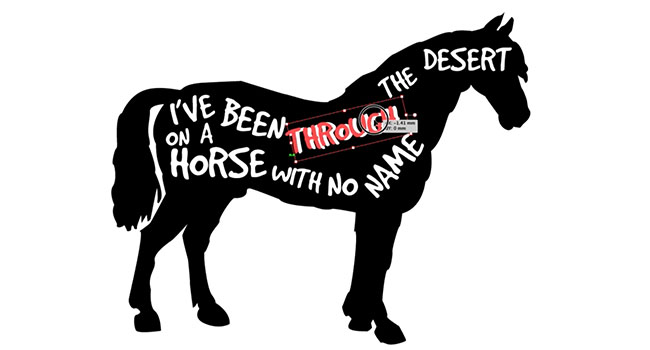
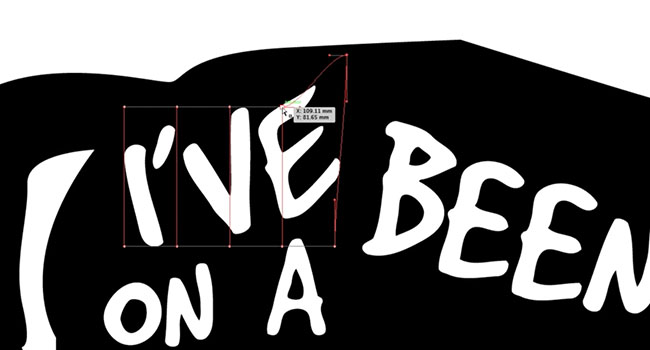
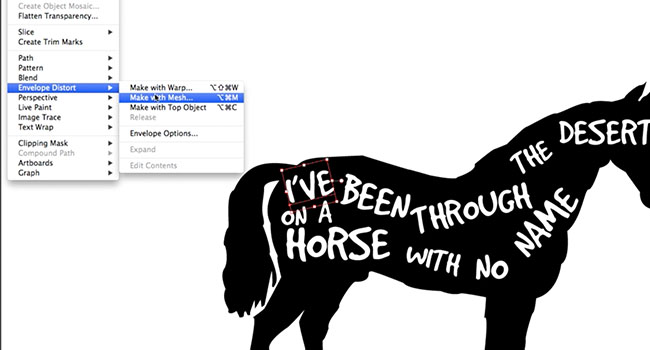
Once all of the words are in place, select one and go to Object – Envelope Distort – Make With Mesh. Using the Direct Selection Tool you can now change the shaping of the letters to fit snug within the space. Try and emphasise key words by making them bigger.
Trick Pony
Now let’s add some vintage tricks to the image and text. In the Transparency pallet, there are two squares. One square contains a picture of the object of word and the other is blank. Double click the blank one – this’ll create a matte.
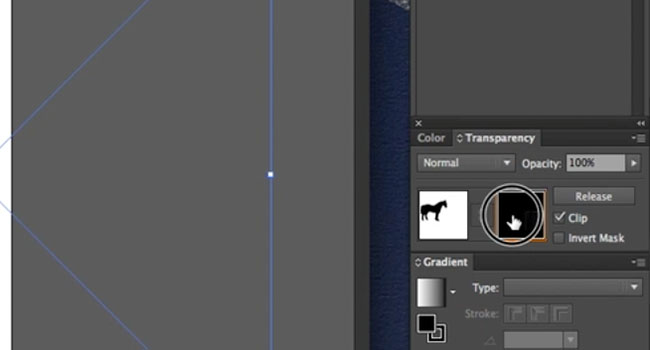
Grab a dusty vector or another pattern and drag it onto the square. Then simply adjust and voila! It’s now got a old vintage look. Just turn off the clip option in the pallet, but play around with the invert option for the desired effect.
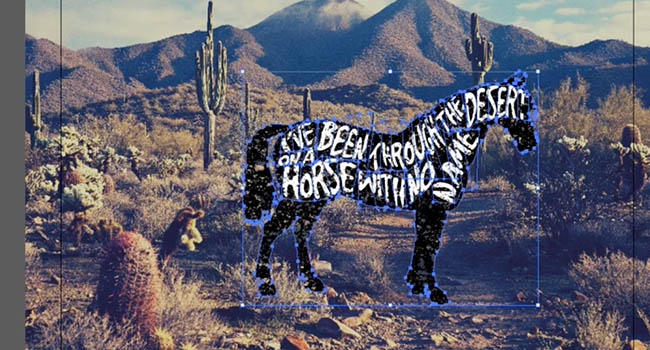
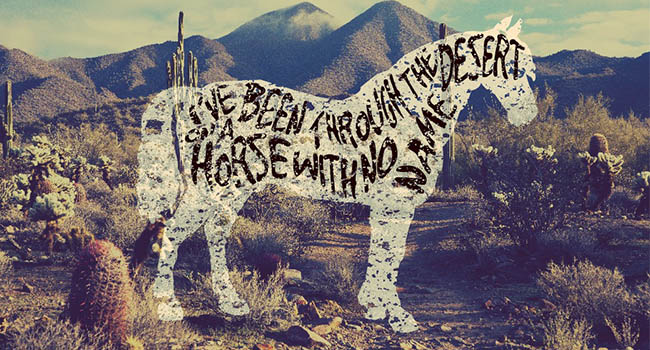
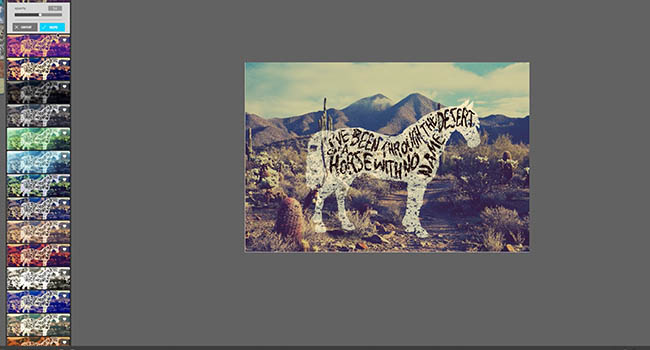
Now you can drag the image over a background. We’ve chosen this desert scene for our horse image. To get a ghostly transparent effect, in the Transparency pallet change the mode to screen.
Finishing Touch
Just like that, you’re done! For more charm use a programme like Pixlr by Autodesk (free online and on the Mac App store) to quickly put a filter on it.
These principles of remoulding the font can be used on almost anything for that handwritten effect!
Music used in the above video: “Grey Snow (Instrumental Version)” by Josh Woodward (http://www.joshwoodward.com/) (Under Creative Commons)
Subscribe To Our YouTube Channel
For more of our Adobe Creative Tutorial Series, please subscribe to Solopress’ YouTube channel so you don’t miss out.


