Learn how to create a flyer in Adobe Photoshop with our expert, easy-to-follow video tutorial…
This video is part of our Adobe Creative series of design tutorials. Please make sure to subscribe to the Solopress YouTube channel so you don’t miss out on future guides!
How To Design A Flyer
Download the FREE Solopress Flyer Template
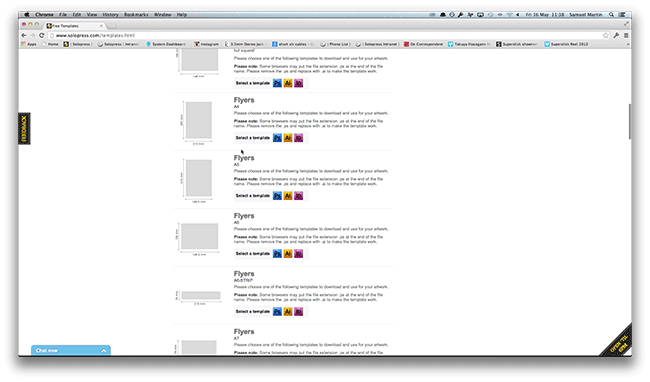
Go to the Solopress website, and in the Free Artwork ‘Templates’ section under Flyers, click and download the (PS) Photoshop A5 Template.
Bleed, Trim and Safe Area
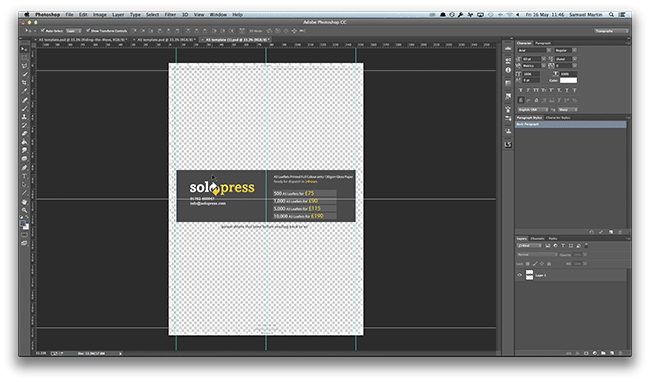
Open up the Photoshop file. We have created a guide layer that will help you to design your flyer; this includes the Bleed Area, Trim and Safe Area.
Bleed Area – Anything here will be trimmed off, but remember to extend any colouring or images into this 3mm bleed area to avoid white lines appearing during the print finishing stages.
Trim – Your job will be cut on the solid black line, any images or text placed in this 3mm area may be trimmed off incorrectly.
Safe Area – Keep all your information inside the white area. Remember to use high-resolution images (300dpi) for the best results.
Create your own guides lines that will help you ensure your artwork is maintained in the Safe Area. In the top menu heading go to View, New Guide, make sure Horizontal is selected type in 107.99mm. A horizontal guide will be placed directly in the middle. Create another new guide and select the Vertical option and type in the box 77.26mm. You will have two guides that are directly in the centre of the image this will help you align your text and images. Alternatively you can create a new guide by clicking and dragging on the vertical and horizontal Ruler (if you ruler does not appear in Photoshop press Command + R). Create 4 new guides on the Safe Area line.
Creating the background
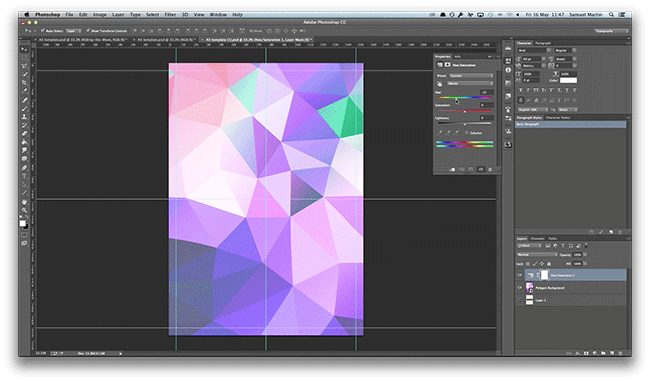
In the Layers window hide the Guide Layer Only refer to this layer to check your design fits within the Safe Area and make sure any colouring or images extends beyond the Bleed Area. To import the background, in the top menu heading go to File, Place Embedded, locate your file(s) and select Place. We have chosen an Abstract Polygon background with a mixed array of different colours. Adjust the size and position your logo. Select the Tick to confirm the action.
In the top menu under Layer, New Adjustment Layer, Select Hue/Saturation. This will add an Adjustment Layer on top of your selected image, double click on the layer and the Properties window will appear, this will allow you to adjust the Hue and Saturation of layer beneath. (This will be the Polygon Background.)
Import the second background layer
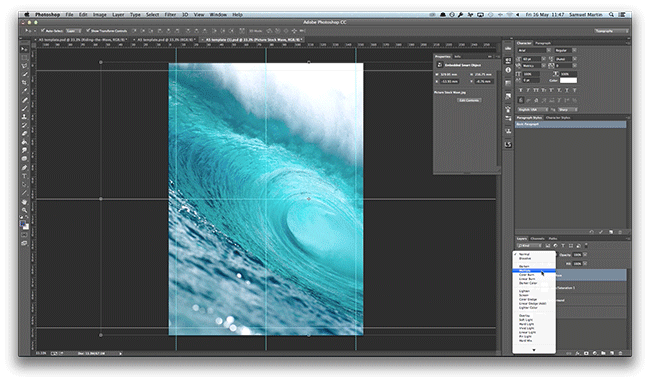
As before import the 2nd background (We have chosen a cool picture of a wave to tie in with our flyers theme). Adjust the size and position and in the Layers window, click the tab Normal, and locate and select Multiply. Multiply multiplies the numbers for each pixel of the top layer with the corresponding pixel for the bottom layer, as a result this will make the picture darker. We will now take the Opacity down to 38%. We have now created the background.
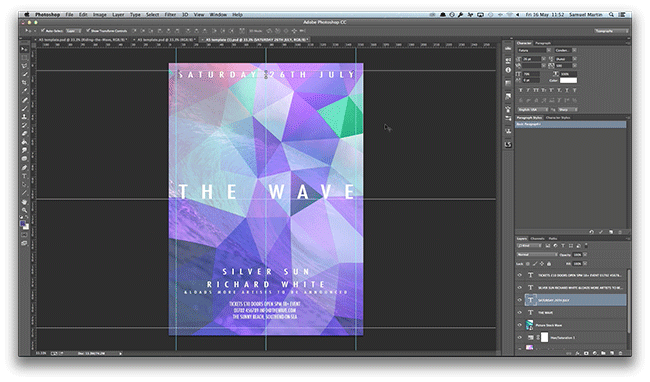
Adding the text
Select the Text Tool and type all the information that you need to present and in the top menu you can change the font, we have chosen Futura. To adjust the height and spacing go to the Character window. (For this design we are having all the information aligned in the centre. Making the letters slightly apart as well as condensing the smaller letters together to resemble other music festival posters.
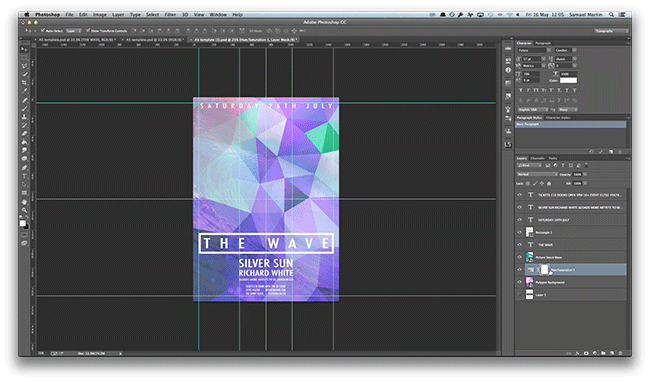
Final adjustments
Adding the final adjustments, we have added a white border around the heading you can create this by selecting the square tool and click and drag to create a box.
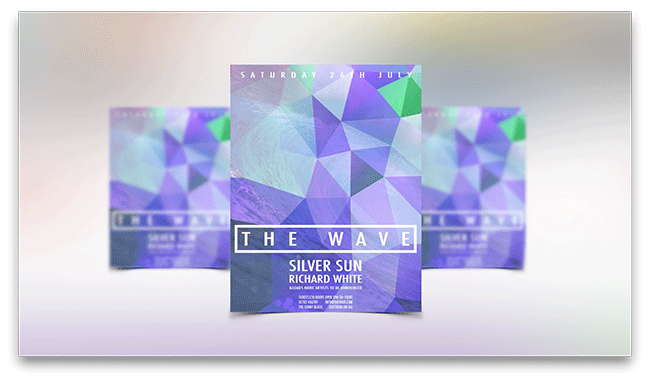
Finishing and ready to print
We have now completed the flyer. To export the design on the top menu heading select File, Save As. Name your design and change the format to Photoshop PDF, select Save. A new box will appear and in the side menu, select Compression Change and in the options Bicubic Downsampling To, change to Do Not Downsample; ensure that the Compressions setting is set to Jpeg and the image quality is set to Maximum then select Save PDF. Do this process with both designs; you will then have your designs ready for printing.
And that’s how you design a flyer in Adobe Photoshop!
If you have any comments or questions regarding designing a flyer or leaflet, please use the comments section below and we’ll do our very best to answer your queries.
Thank you for watching our video tutorial.


I have a need for flyers. I found, by accident, your website. I have downloaded your templates but I am unable to open them. I use Windows 8.1.
What do I need to do?
Hello Clive. We are so glad you are interested in our blog. In order to successfully download and run our free templates, you need to have either Adobe Photoshop, Illustrator or InDesign installed on your PC / laptop.
Lovely designed flyer…
But unfortunately videos like this are destroying the design industry. Now everyone thinks that just because you can use a computer program you can, as if by magic, understand craft skills such as design, art direction, typography, layout and print production.
It’s no wonder there’s so much trash out there, and the likes of this video are only adding to it.
Excellent video – I learned a lot from the way you highlighted the text and then increased the text size to fill it out to the guides – what an easy job it makes of creating a good-looking text block.
Thanks for the tutorial! Always good to get professional help; its appreciated.
How long did it take to create that flyer?
Hi Mark, this video tutorial is running at double speed for the most part, so the flyer took around eight minutes to create.